Oct 11, 2020
How to Harvest Your Cannabis Plant
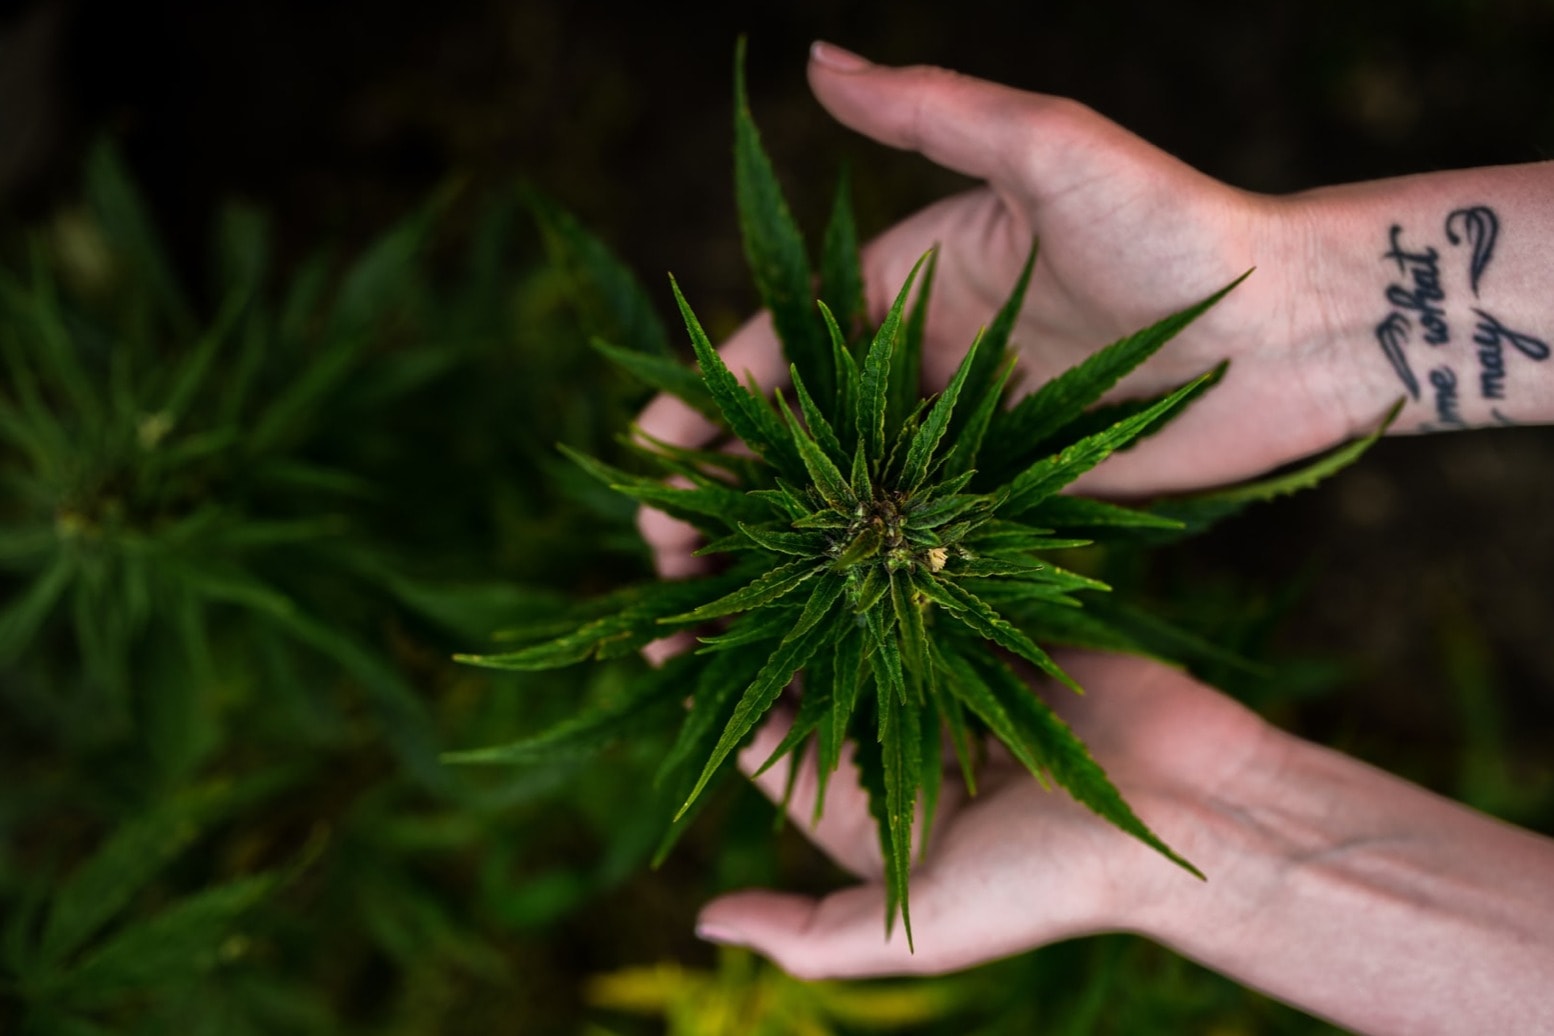
It’s that time of year again!
Did you buy some seeds from us in the spring and toss them in the ground outside? Well, the time in finally come for your patience to pay off!
Even if your tent is inside and you aren’t bound by the constraints of the seasonal sun, you may have some questions when those first buds start becoming visible through the glorious shining hairs a few weeks into flowering. Questions like, “Are we there yet?” and, “How much longer?”
Patience is a virtue
After all the time and effort and love you put into getting this far, now is the most crucial time to make sure that your final product is juuust right. It’s too common an occurrence for new growers to get impatient and harvest their plants too soon. Just because you can see buds doesn’t mean they are ready to smoke!
No snap, crackle, pop… in my bowl
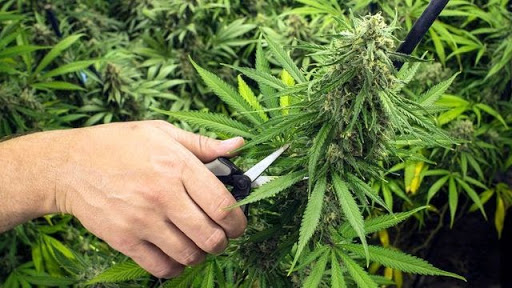
The most important first step of harvesting is your flush. To build those beautiful large buds you had to give your plant a lot of chemical nutrients that, if not properly removed, will end up in the plant matter and when you go to light your bowl or joint they will react to the flames and you’ll hear and see little sparks crackling and popping as it burns. To get rid of any traces of these, you should feed your plant nothing but pure fresh water for a couple weeks, this flushes out everything that you don’t want to end up in your dried buds.
Amber is the color of my CBD
Once your plants have been properly flushed, the next thing you need to know is what indicators to look for that will tell you the prime time to actually cut your plant down. We all know that the stuff we want from cannabis is contained in the oils secreted by the plant and not in the plant matter itself, so the oil is what we want to keep an eye on.
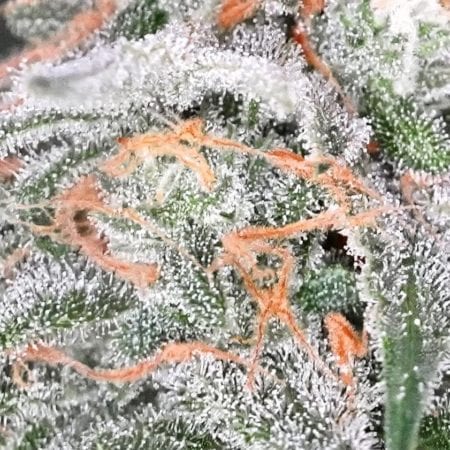
Trichomes as they first form will be clear and glassy, this is way too soon to harvest and the dried product will not contain many cannabinoids.
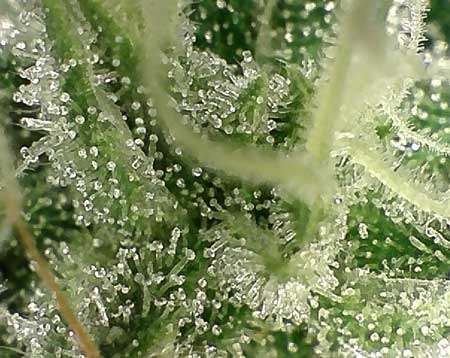
Trichomes that start to go foggy and milky will contain lots of THC and lots of growers will harvest when they start seeing them, but…
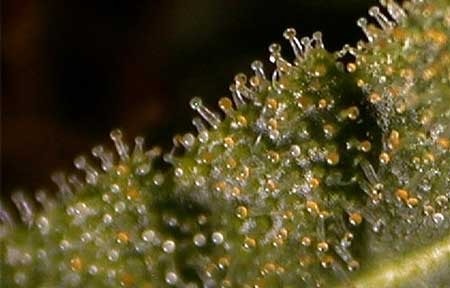
These trichomes have gone past milky and started to develop an amber tinge to them, for most growers, this is the best time to harvest as the Trichomes will also contain greater amounts of minor cannabinoids like CBD.
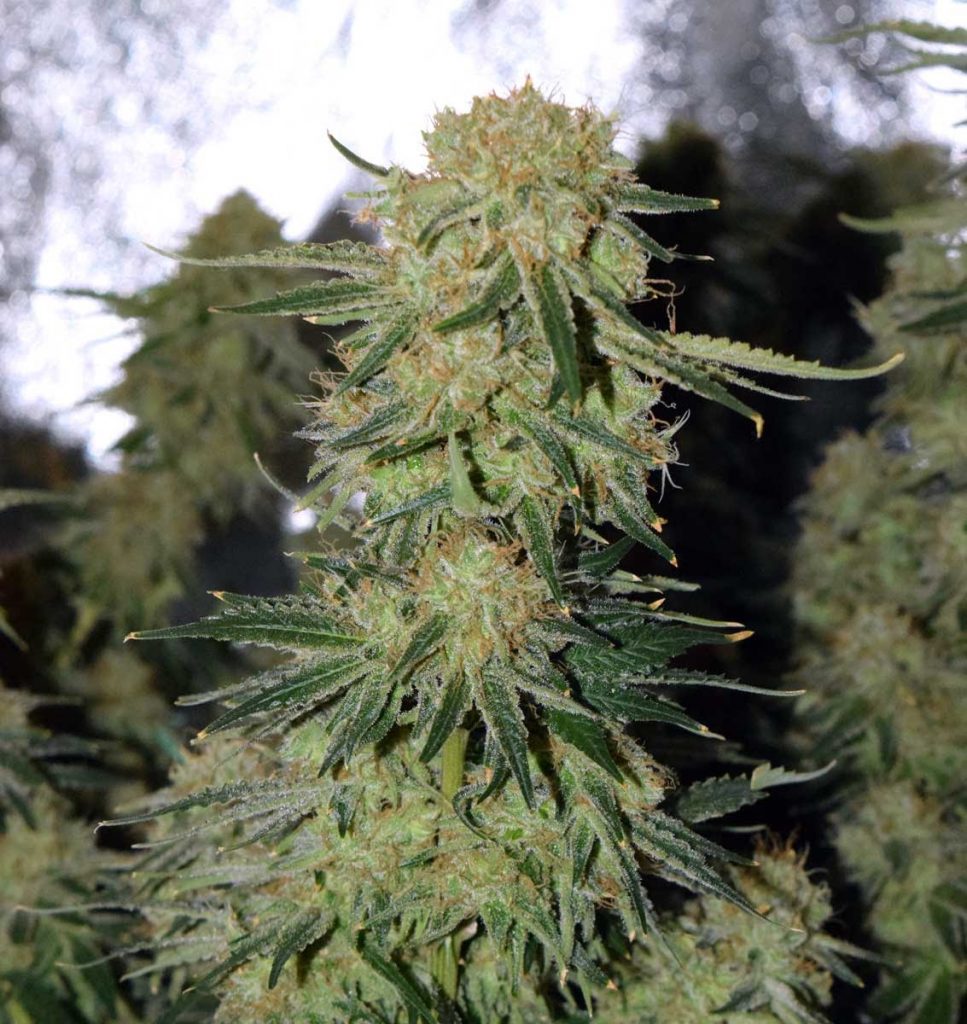
If you don’t have a Jeweler’s Loupe or magnifier another rough way to tell is once the buds have fully grown past the pistils however this can vary and isn’t the most reliable way.
Time for a buzz cut and a blow dry
Great, Your buds are large, your trichomes are amber, you’ve harvested your plant and now you’re standing there holding a large mass of unnecessary leaves and stems with some precious buds somewhere inside all that. You need to get them out and get them smokable!
Cut big then cut small
First step is to cut big, cut the branches off the stalk, cut the fan leaves off the branches. Trimming and Curing are the next steps but which one do you do first?
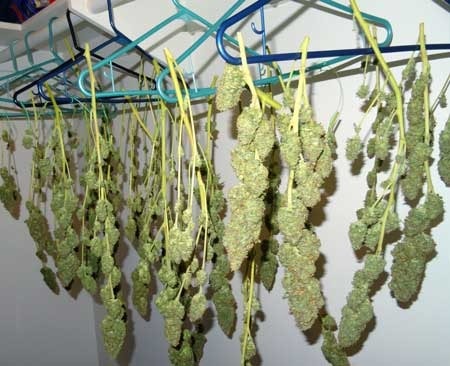
If you feel confident in your drying room and have mastered the art of humidity and air flow, then you can just stick your buds in there till they aren’t as wet and sticky to make trimming a breeze, this is called a Dry Trim.
If you don’t have the best drying area or you live in a humid climate, you may want to Wet Trim. This is where you cut big at harvest, but also immediately cut small as well, remove as many leaves as you can right away before drying the plant, without a blanket of leaves wrapped around the buds you have more exposure to air and less risk of mold. When you are happy with how your buds look and there are no more leaves or stems attached, it’s time to properly cure your bud.
I let it dry, why can’t I smoke it now?
A quick dry is good to prevent mold, but a long, slow, proper cure is essential for maintaining terpene and cannabinoid content, achieving the perfect humidity level which leads to a better, fluffier grind and a smoother smoke, and a proper cure can also help the bud store for longer before losing quality.

After hanging it dry or laying it on a rack, throw it into some glass jars. Be sure to burp them frequently – just open the lid to let any collected moisture out, give the jar a little swirl or light shake, then pop the lid back on again.
Pro Tip
Cure your bud in a humidor with a proper hygrometer, as long as you maintain the perfect humidity by soaking the humidor sponge, your cannabis can last for years and only get better with time. Cannabis cured properly in a humidor for at least three months will bust up fluffy and fresh without a grinder and will provide a smoking or vaping experience so smooth that nothing will be able to compare to. Note however that this is an artisan process and if you don’t check your hygrometer daily and maintain the perfect conditions, your bud can get too dry or too wet.
Re-Up!
And of course the most important step, head on over to The Hunny Pot nearest you to grab four more seeds for your next crop!
